Reading Top Down Charts
In this post, we will cover the basics of hat construction and how to read a top down motif chart.
Basic Hat Construction
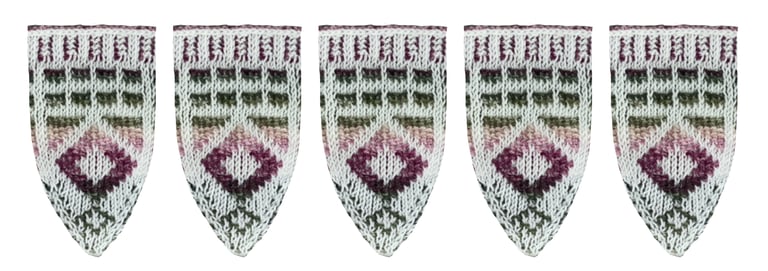
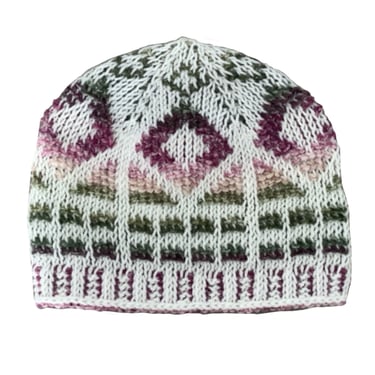
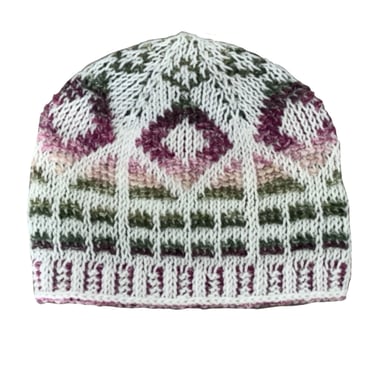
Let’s start with the basics by looking at the Briardale pattern as an example. When working a Tunisian No-Float hat in the round, the hat is worked top down in a spiral, round by round. The pattern is divided into repeating sections (also called points). In Briardale, the hat is worked in five sections, all of which meet neatly at the very top of the crown when the hat is finished. (Other patterns may use a different number of repeats.)
You will begin by following the written instructions to make a magic circle and then cast on the required number of stitches. For example, in the Briardale Beanie chart, you will cast on 10 stitches, and then you can move straight on to Row 1 of the motif chart.
Reading the Chart
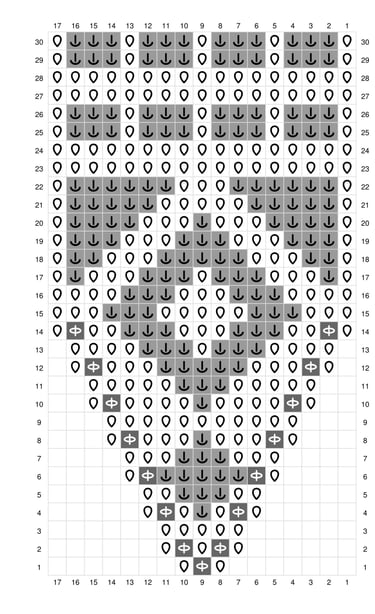
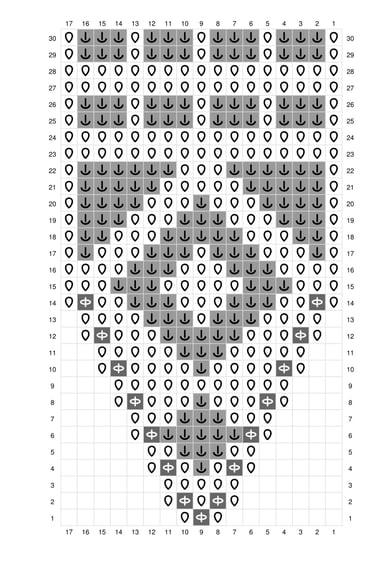
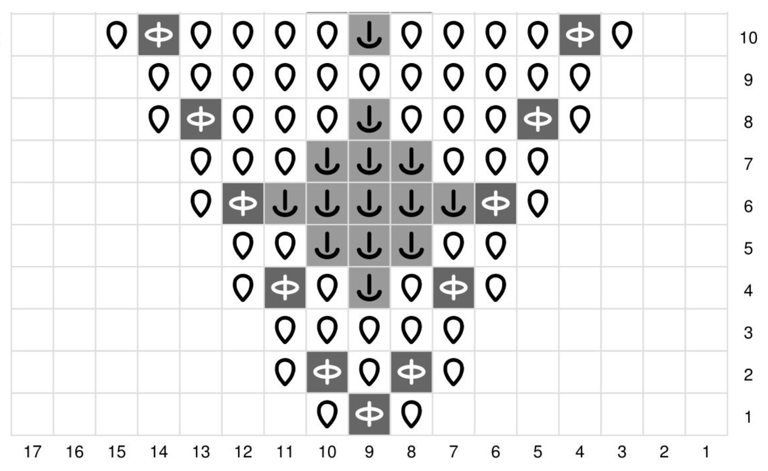
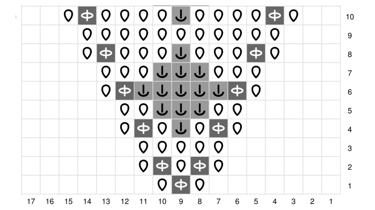
The motif chart provided in your pattern pdf, is read from bottom to top and right to left and only shows one section of each round. To complete your hat you will need to repeat the instructions from this chart a total of five times.
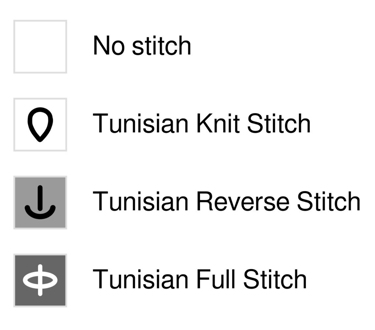
As you can see in the section of chart below all No Float charts contain a number of boxes with symbols such as , and , which represent different stitches. The chart legend below (right) shows what each symbols stands for.
Following the Chart
First, familiarise yourself with what each symbol on the chart represents, as stated above. stands for Tunisian Knit Stitch (TKS), stands for Tunisian Reverse Stitch (TRS), and stands for Tunisian Full Stitch (TFS).
Begin working the first section of the motif as indicated by the chart. For instance, the row instruction for Round 1 and Row 1 is: "TKS 1, TFS 1, TKS 1"
This means you will work 1 Tunisian Knit Stitch (TKS), followed by 1 Tunisian Full Stitch (TFS), followed by 1 more Tunisian Knit Stitch (TKS)
Once you have completed one section move to the next and repeat the process. Each round involves completing five repeats of each row on the motif chart.
You will start on Row 1 of Round 1 with 3 sts, increasing every other row until you have 17 stitches per section. Once you've completed the first 14 rows in this example, the increases stop. The rest of the chart shows the body of the hat. Rows 15 - 38 all have 17 stitches per section and 85 stitch per Round (17 sts x 5 sections).
When you've reached row 38, you will move on and follow the written instruction to create ribbing for the brim.